Bring Your Drawings to Life: Converting Sketches to Vector Art with AI ✏️🎨

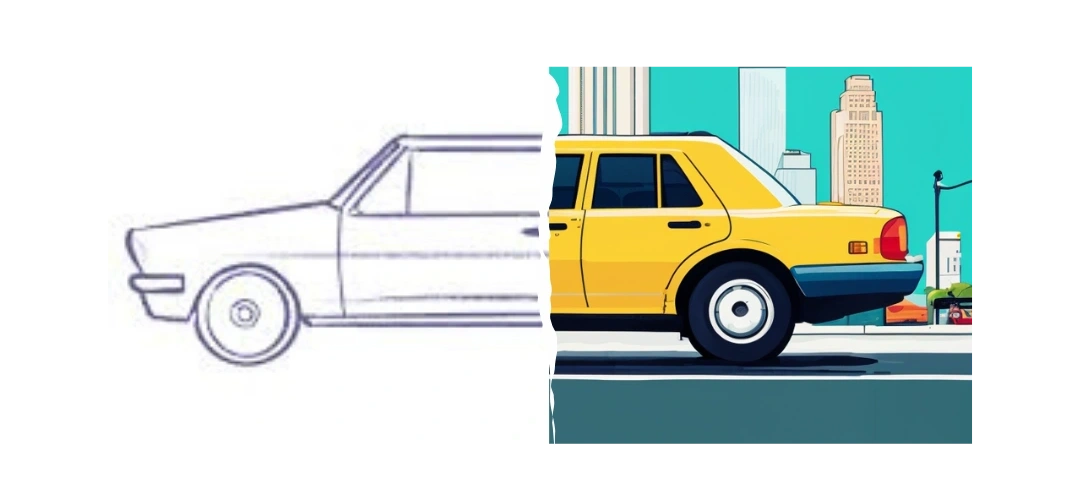
Every great design starts with a spark of inspiration–sometimes as simple as a scribble on the back of a notebook. But how do you turn that rough idea into a polished illustration? Brushless has got you covered! Whether you're sketching your brand logo or just experimenting with a new idea, you can bring your visions to life! 🚀
In this guide, we’ll walk you through how to take your rough sketches and turn them into professional-grade vector illustrations. 🎨
Step 1: Sketch Your Idea ✏️

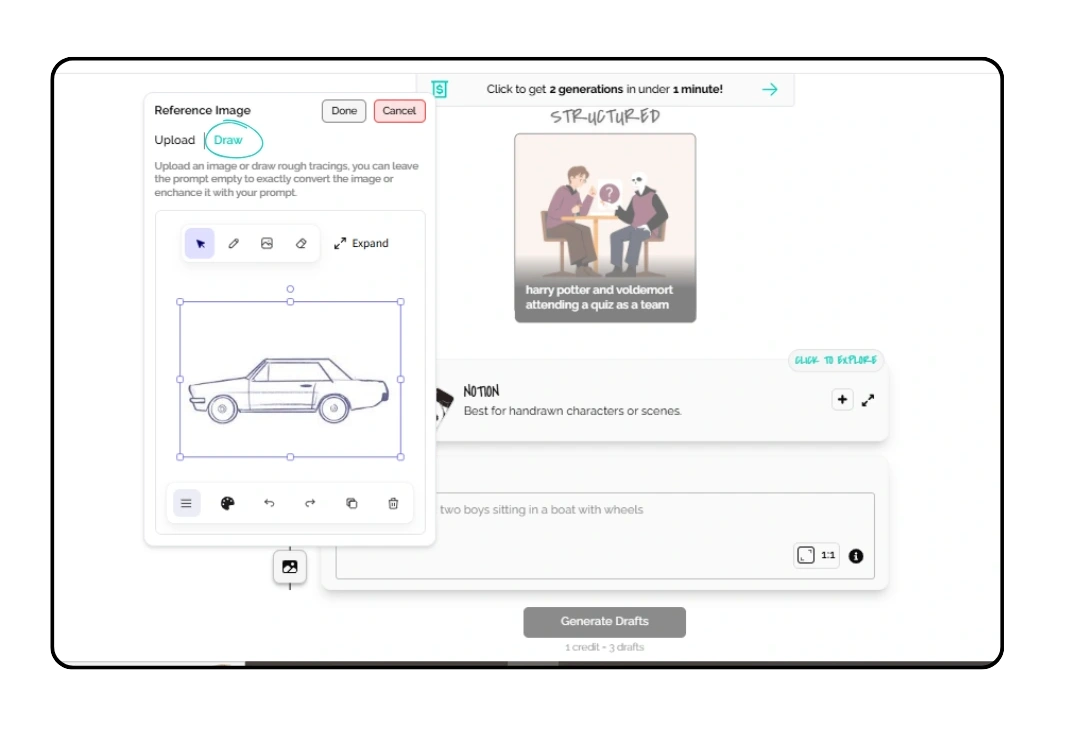
The first step is capturing your vision. Brushless makes it easy to sketch your ideas directly on the platform. You can use the built-in sketching tool to:
- Outline the Basics: Start with the primary shapes and composition of your design. No need to aim for perfection yet–just get your idea down. 🖋️
- Focus on Key Details: Highlight the most important elements of your design, like characters, symbols, or key objects. 💡
For example, if you’re designing a logo, sketch the general shape or symbol you want. If it’s an illustration, block out the composition and main focal points. If you prefer, you can also upload an image of your physical sketch directly to Brushless.
Step 2: Refine Your Concept 🔍
Once your idea is uploaded or drawn, take a moment to review and refine it. Ask yourself:
- Is the focus clear? What’s the focus of this design?
- Are there unnecessary details that can be removed?
- Does the composition feel balanced?
This ensures that your vision is sharp and ready for the next phase.
Step 3: Create Your Input 📝
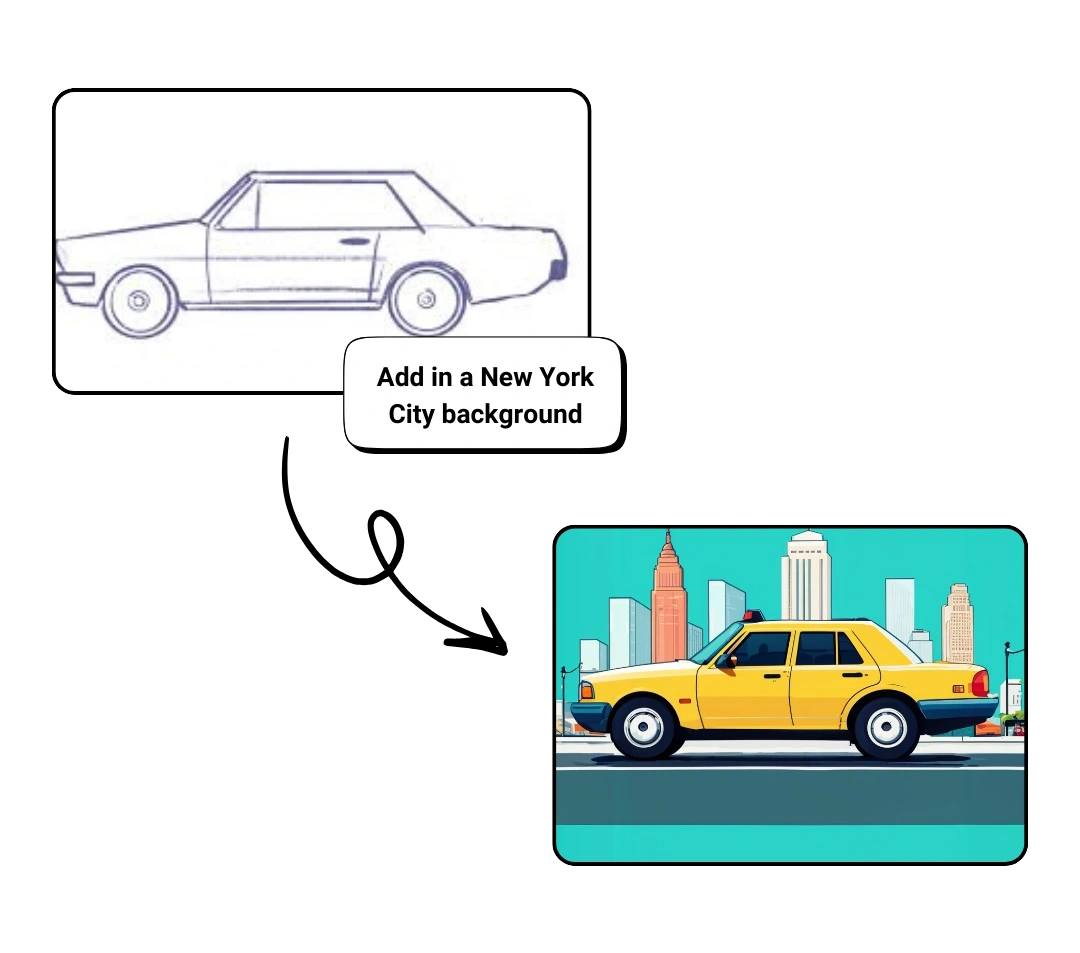
Your sketch sets the foundation, but your prompt is the blueprint that guides Brushless in turning it into a polished design. Make sure to use descriptive language to tell AI what you want.
Example Prompt: "Add in a New York City background to this sketch."
Once you’ve nailed your prompt, you can go ahead and choose from one of our style options or create your own custom style. And finally, choose your color palette. Brushless allows you to choose from a variety of different color palette options and even create your own custom palette. Once you’ve picked a color that suits your needs, you’re ready for the next step.
Step 4: Allow Brushless to Work Its Magic ✨
Once you submit your sketch and prompt, Brushless AI gets to work. Using advanced algorithms, it analyzes your input and generates a stunning vector design tailored to your specifications.

Step 5: Add Final Touches 🖌️
Once Brushless AI generates the initial vector art, review it carefully. Look for areas where the design can be fine-tuned:
- Are the shapes and lines clean and smooth?
- Do the colors match your vision?
- Does it convey the mood or style you want?
If needed, you can refine your prompt or regenerate the artwork until it’s just right.
Step 6: Share Your Work 🌍

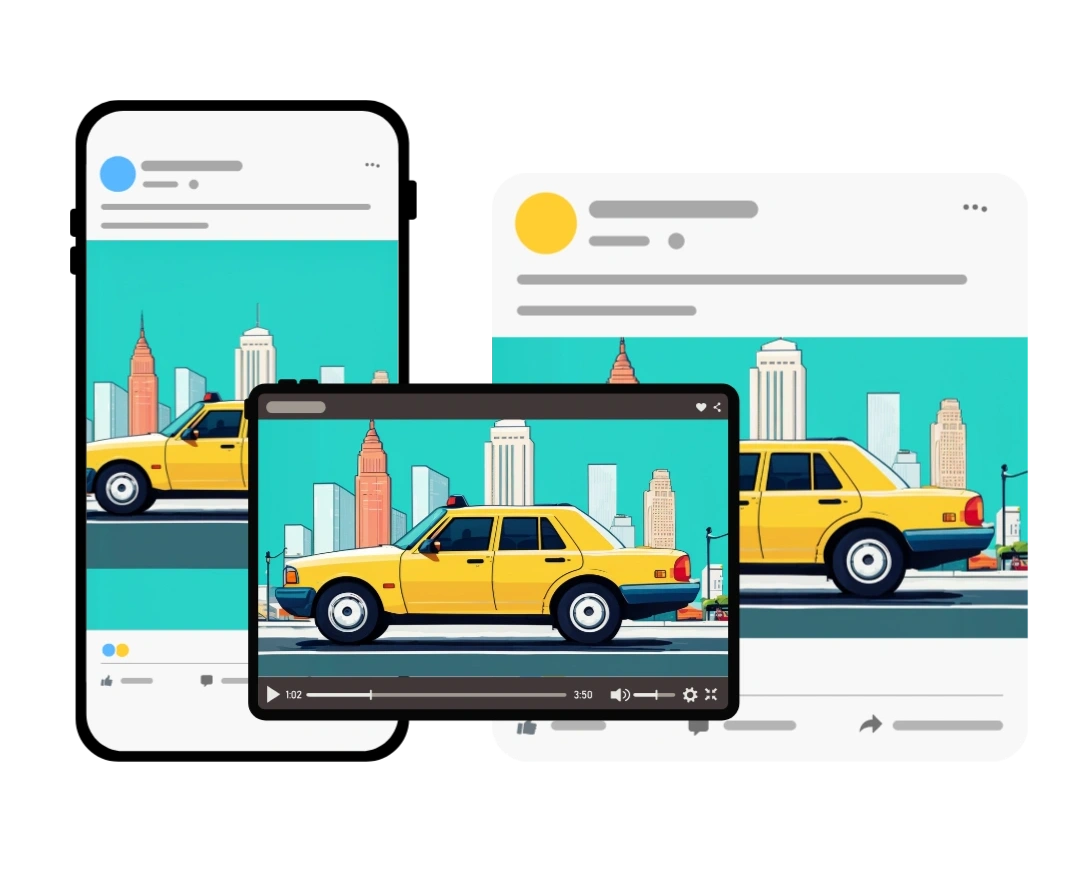
Now that your doodle has become a polished piece of vector art, it’s time to show it off! Use your creation for:
- Branding and logos.
- Social media graphics.
- Marketing materials.
- Personal or professional projects.
Don’t forget to tag Brushless AI when sharing your art online—you might just inspire others! 🌟
Why Brushless AI is the Perfect Tool for Creators 💡
With Brushless, you don’t need to be a professional artist to create professional-looking designs. The platform’s intuitive tools and powerful AI enable creators of all levels to:
- Turn raw ideas into refined illustrations in minutes. ⏳
- Explore endless styles and color combinations effortlessly. 🎨
- Save time without sacrificing quality. 💪
Turning doodles into polished vector art has never been easier. With Brushless AI, you can unlock your creative potential and bring your ideas to life with precision and style. ✨
Ready to bring your sketches to life?
Try Brushless today! 🚀


